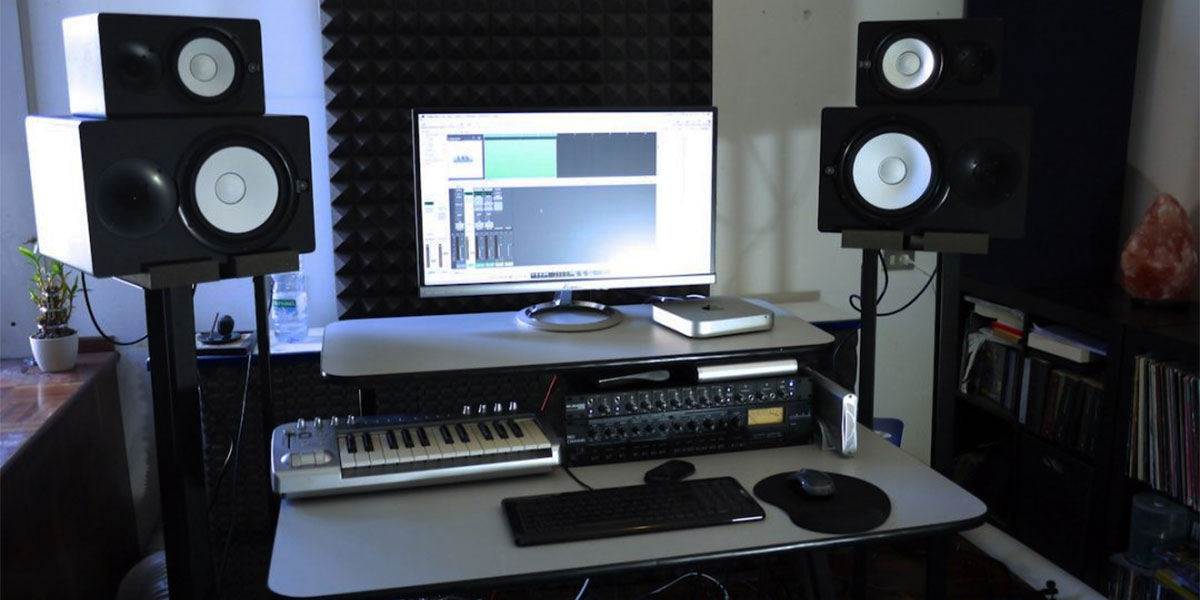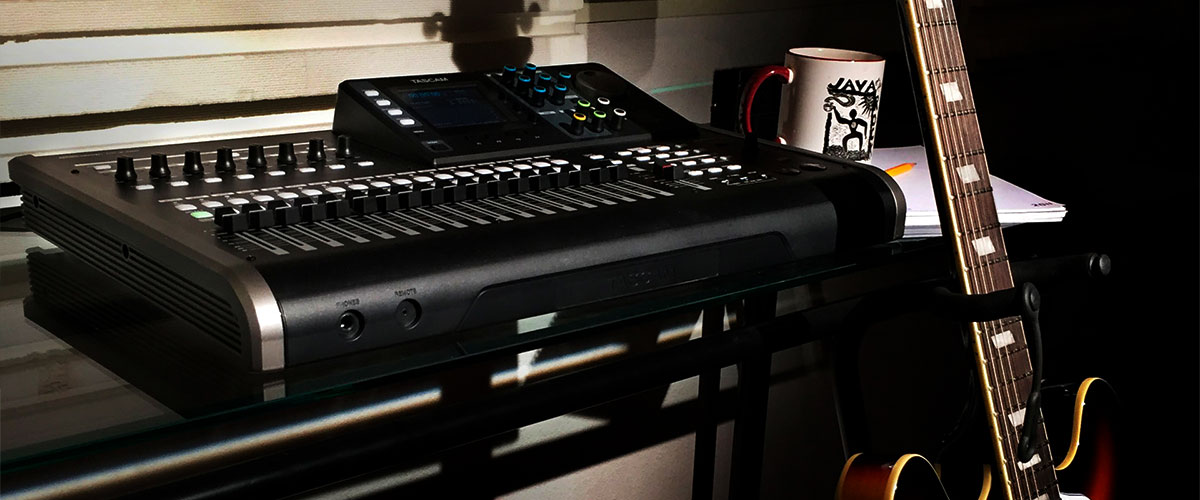
Home recording is becoming increasingly popular as more people look to create their own music and podcasts without the need for costly studio time or elaborate equipment. Whether you’re a musician, podcaster, voice-over artist, or just looking to capture your own sounds, here are some tips to get you started.
First of all, you’ll need a good microphone. If you don’t want to invest in expensive equipment right away, a USB microphone is an inexpensive and simple solution. A USB mic plugs directly into your computer via USB cable and can help capture clear audio without the need for additional hardware.
Next, you’ll need recording software. Popular free recording programs include Audacity and GarageBand (for Mac). Both are easy to download and offer lots of features for editing and mixing your audio.
For more professional-sounding recordings, you may want to consider investing in a digital audio workstation (DAW). DAWs are often pricey but provide powerful tools for recording, editing and mixing audio. Popular DAWs include Avid Pro Tools, Apple Logic Pro X, and Ableton Live.
Finally, you’ll need to choose a room for the recording session. Ideally, you should find a space with minimal background noise and good acoustics. You may want to add acoustic foam or soundproofing to the walls to minimize any extra noise.

Pick basic VST plugins
Choose plugins that have the features you need. VST (Virtual Studio Technology) plugins are software add-ons designed to help you mix or edit audio. Some basic VST plugins that are commonly used in home recording include:
- EQ (equalizer) plugins: These plugins allow you to adjust the frequency balance of your recordings, helping to shape the overall sound of your mix.
- Compressor plugins: These plugins help to control the dynamic range of your recordings, making the quieter parts louder and the louder parts quieter. This can help to create a more balanced and polished sound.
- Reverb plugins: These plugins simulate the sound of different acoustic spaces, adding depth and dimension to your recordings.
- Delay plugins: These plugins create echoes and repeats of your audio, allowing you to add rhythmic interest or create a sense of space in your recordings.
- Synth plugins: These plugins allow you to create virtual instruments, including traditional synthesizer sounds as well as more unique and experimental sounds.
- Sampler plugins: These plugins allow you to load and manipulate audio samples, allowing you to create your own instruments or incorporate pre-existing sound recordings into your tracks.
- Limiter plugins: These plugins help to prevent digital clipping and distortion, allowing you to increase the overall volume of your recordings without compromising the sound quality.
- Saturation plugins: These plugins can add warmth and character to your recordings, simulating the sound of analog recording equipment.

How to record guitar and bass at home
Recording guitar and bass at home can be a great way to capture your performances for future use. With the right equipment and some basic knowledge, you can easily create quality recordings at home using computer-based recording software. Here are some tips on how to achieve the best results:
Connect your instrument to your interface
Plug your guitar or bass into your recording interface using a standard 1/4-inch instrument cable. If you're using a DI box, plug your instrument cable into the DI box and connect the DI box to your interface using an XLR cable.
Set your levels
Create a new audio track in your DAW and set the input to your recording interface. Arm the track for recording and start playing your instrument. Adjust the gain on your interface to get a good signal level without clipping (distorting) the audio.
Record your instrument
When you're ready to record, hit the record button in your DAW and start playing. Try to play consistently and avoid excessive string noise or other unwanted sounds.
Edit your recording
Once you've recorded your instrument, you can edit it using your DAW. This may involve trimming the start and end points of the recording, adjusting the volume, or applying effects like EQ, compression, or reverb.
Room acoustics
You'll want to avoid any noticeable echoes or reverberation to get the best sound. If your room is too echoey, try treating it with acoustic foam panels or other soundproofing materials. Experiment with different arrangements until you find a space that works for your recordings.
One of the easiest ways to improve the acoustics of a home recording space is to use acoustic foam panels. These panels help to absorb sound and reduce reverberation, resulting in clear recordings with minimal background noise. Another option is to use rugs, curtains, and furniture in your space, as these materials can also help absorb extra echoes and reverberation. Additionally, strategically arranging furniture can help minimize any extra noise or echoes in the room. Finally, if the budget allows, you may also want to consider investing in soundproofing materials, such as heavy blankets for your walls or a vocal booth.
Ultimately, it's important to experiment with different approaches until you find what works best for your recordings. Every space is different, so finding the perfect setup for your home recording studio may take some trial and error.